Introduction
Theme Name: Esrar Medical Cannabis Shopify eCommerce Theme
Thank you very much for choosing our theme. We truly appreciate and really hope that you'll enjoy our theme!
If you like this theme, Please support us by rating us 5 stars..
Theme Name is a Fully Responsive Shopify Theme for selling Medicine, Sanitizer, Thermometer, Accessories, Face Mask, Baby lotion, Panadol, Hand Gloves and Cefixime tablet etc. It has a fully responsive width adjusts automatically
to any screen size or resolution.
Trendind Header Style, Advanced Footer Style, Unique Home page, Fully responsive, Sections, Shopify Builder, Drag & Drop, Mailchimp, Contact Form, Powerful Theme Option, Page option.
Theme features
- Quick Install
- Shopify Builder
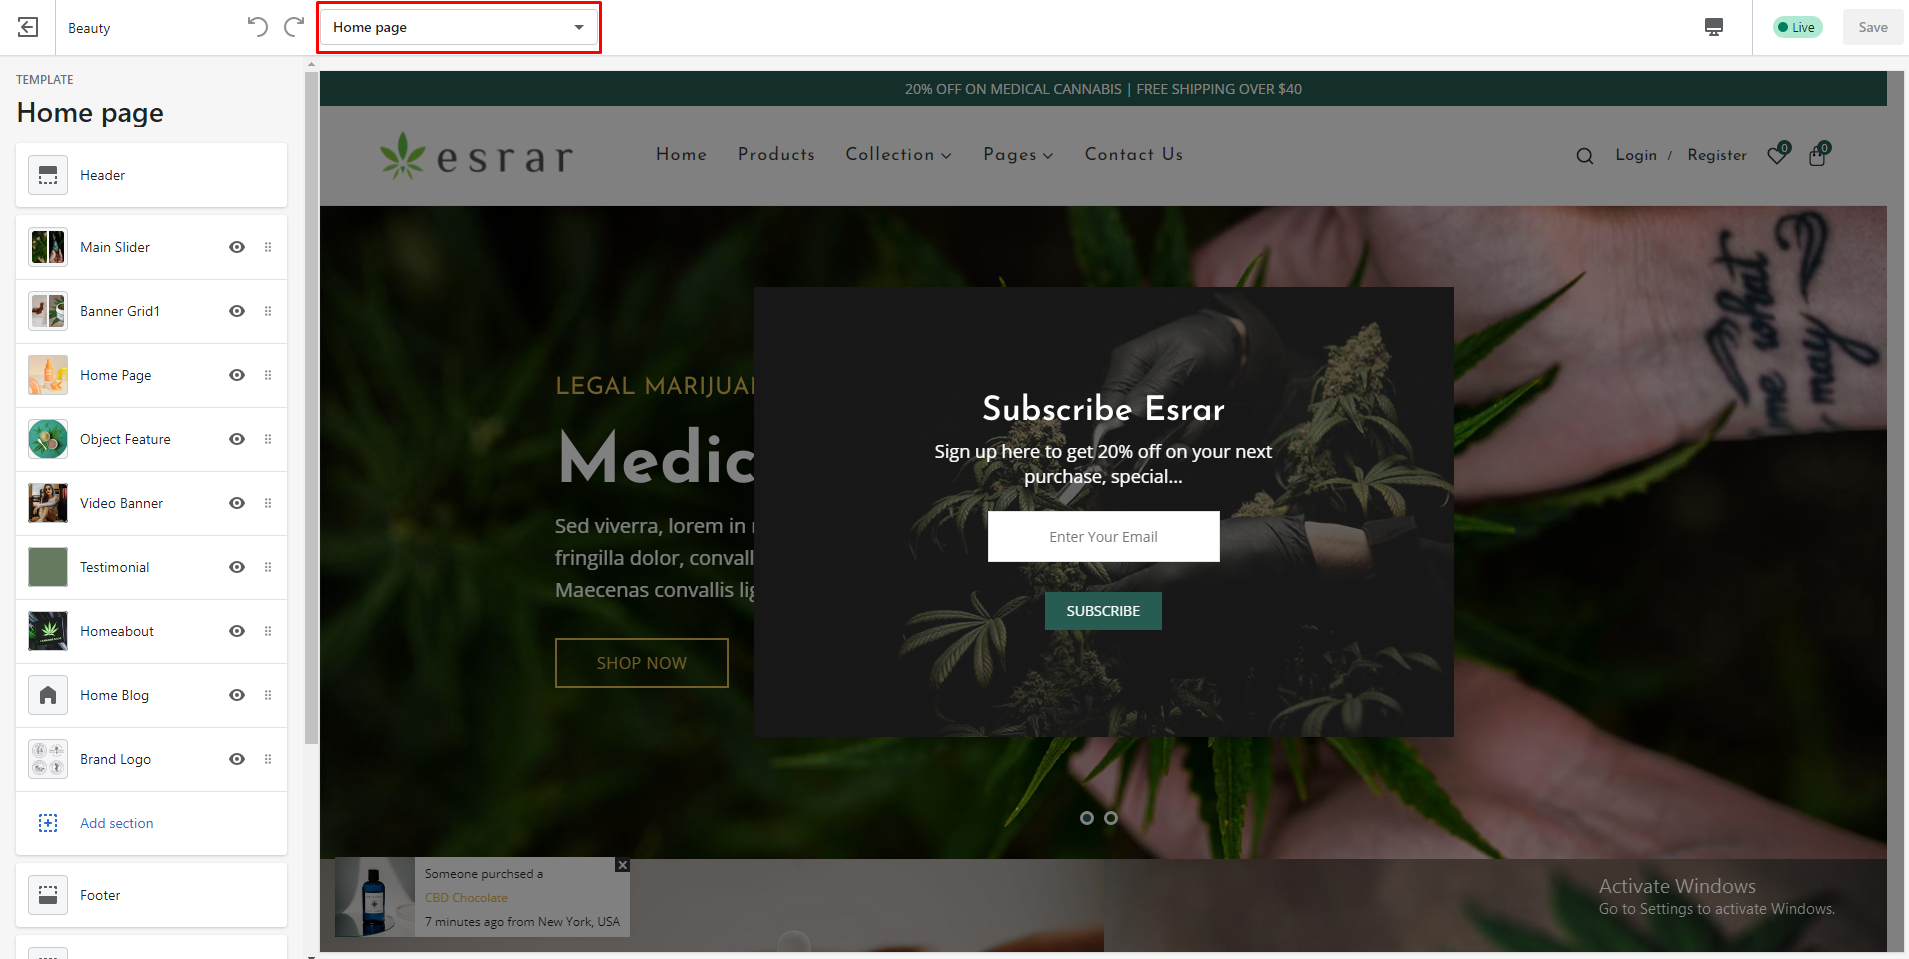
- Newsletter Popup
- Slideshow
- Ajax Popup Cart
- Ajax Wishlist
- QuickView
- Feature Product
- Product With Carousel
- Multiple Banner
- Instafeed
- Brand Logo
- Newsletter
- Testimonial
- Our Services
- Footer Content
- Facebook comment
- Product review
- Custom Tab
- Shortcodes
- Google Analytics
- Fully Responsive
- Cross Browser Optimization
- Well Documentation
Need Support?
If you have any questions regarding to theme issues, please submit a ticket via Template Monsters.
Import Demo Content
If you want to design your store like our demo/preview site
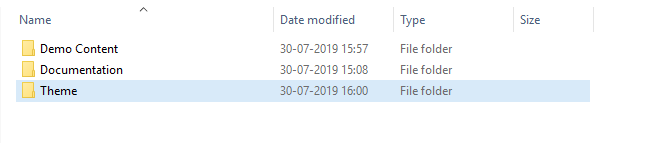
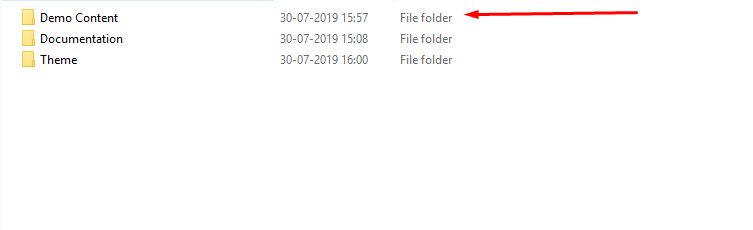
- Demo content files are included in the downloadable file (that you have downloaded from our market place)
- Go to "Demo Content" folder and open "quick_setup" folder

- Choose any quick_setup file, open it using any text editor (e.g. notepad, notepad++) and copy all the code.
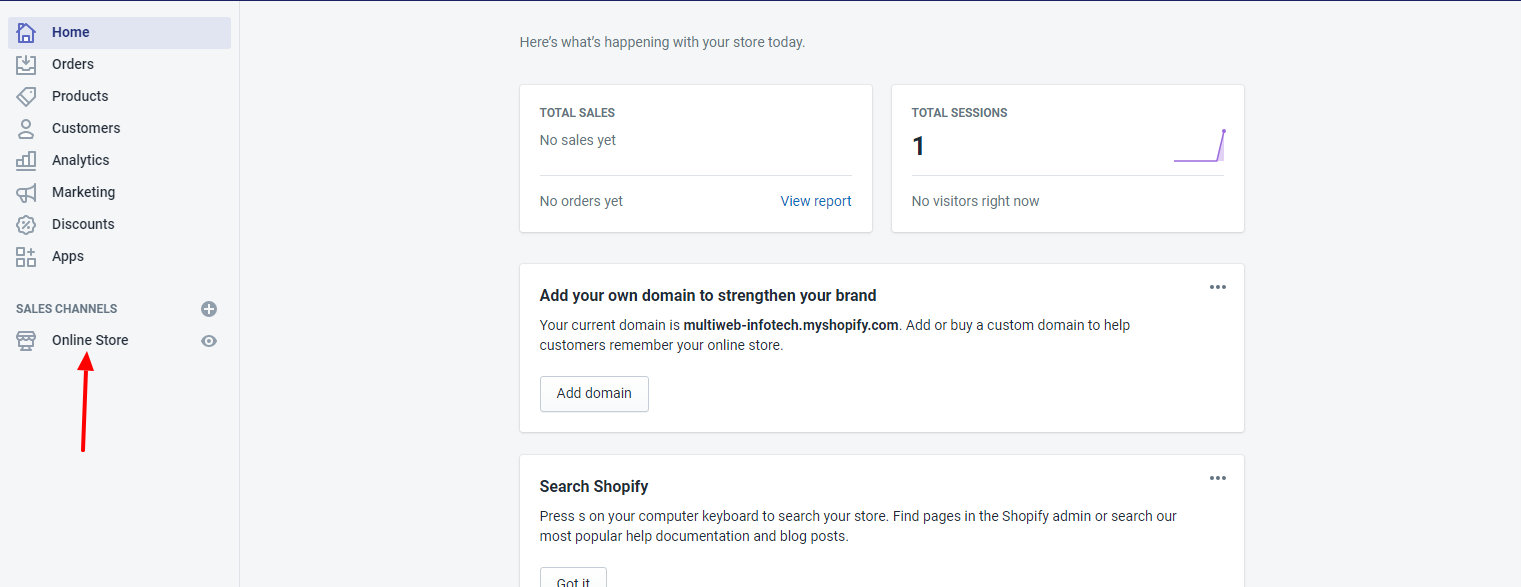
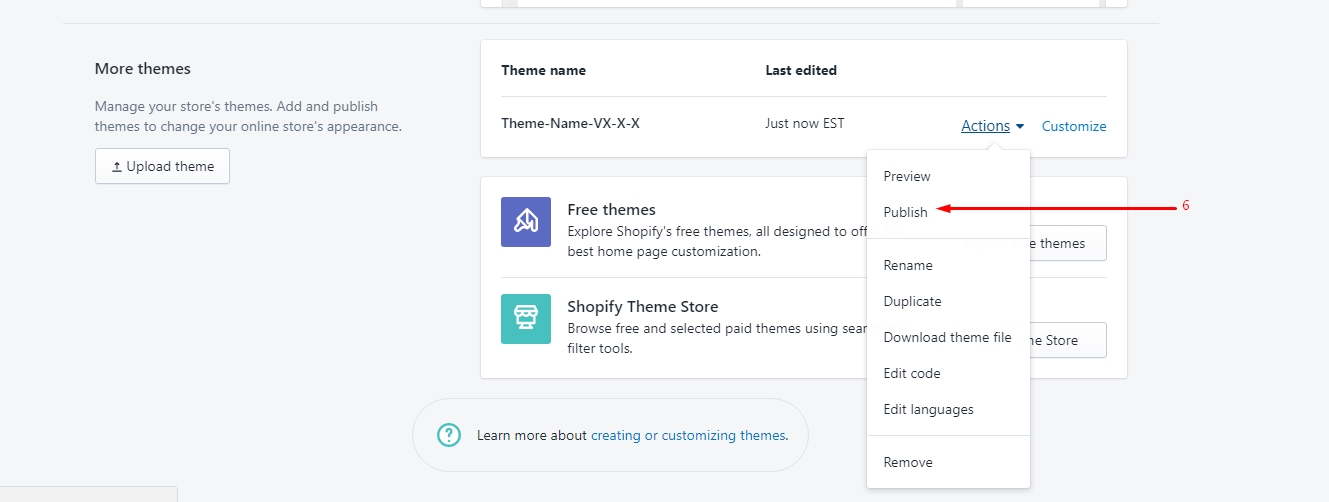
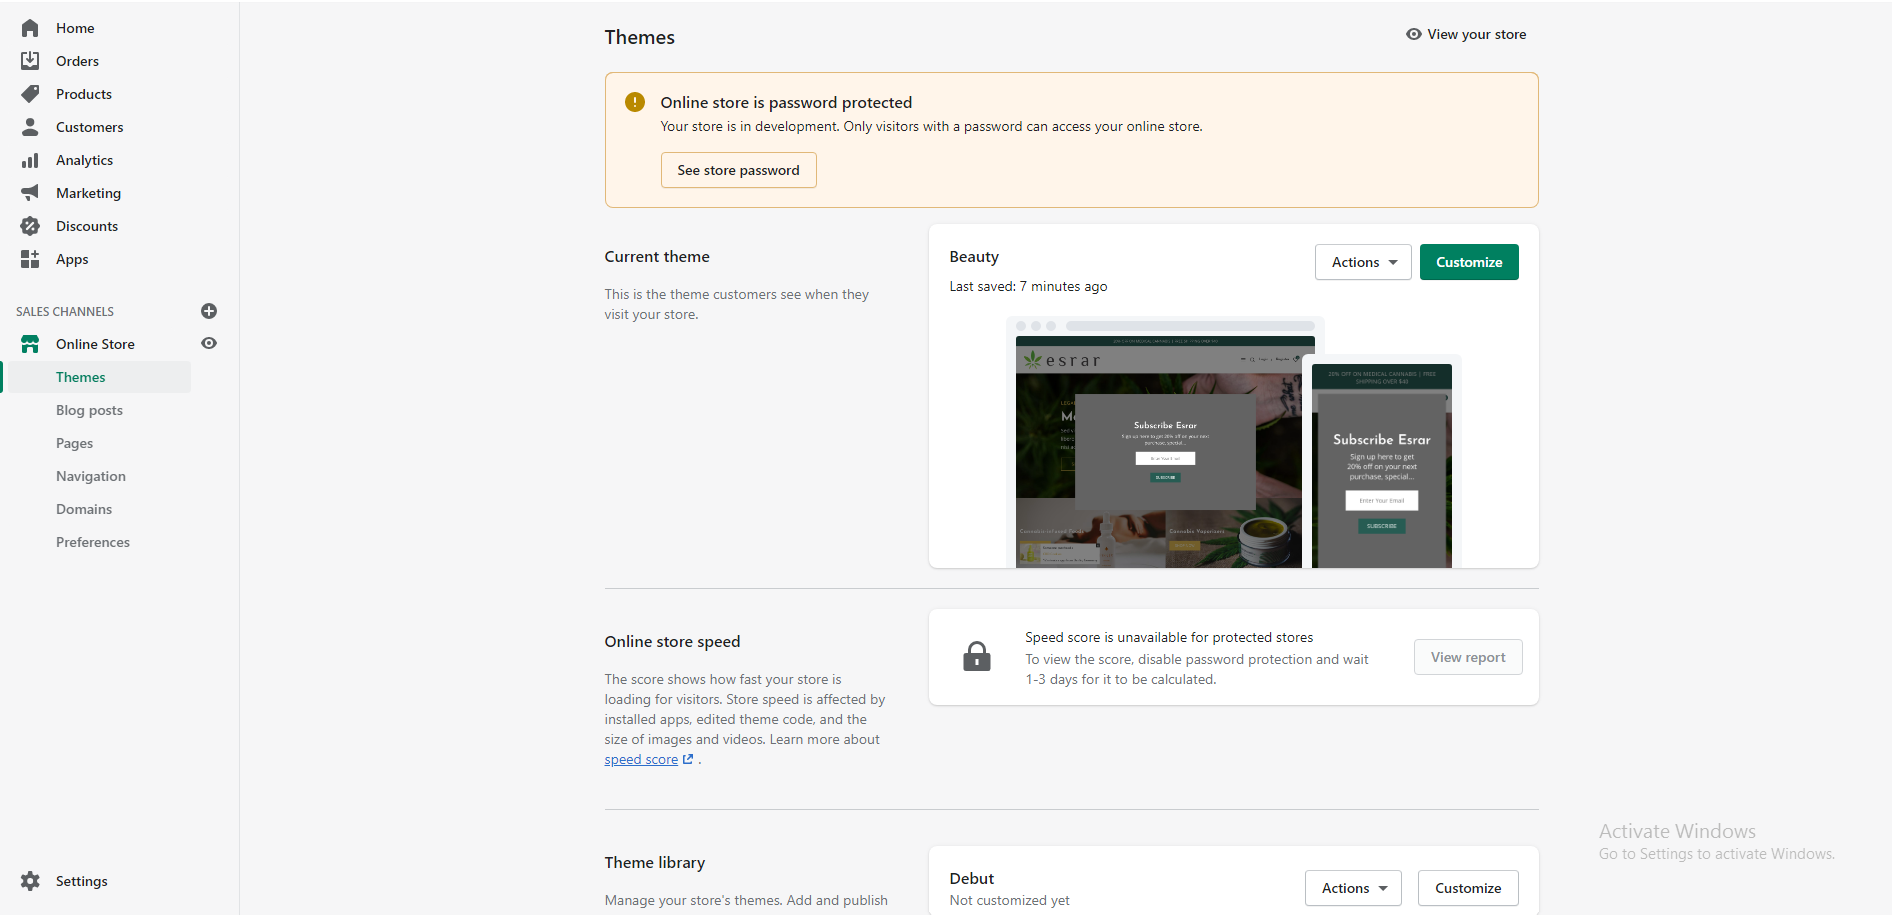
- Now go to your online Shopify store backend Click "Online Store"
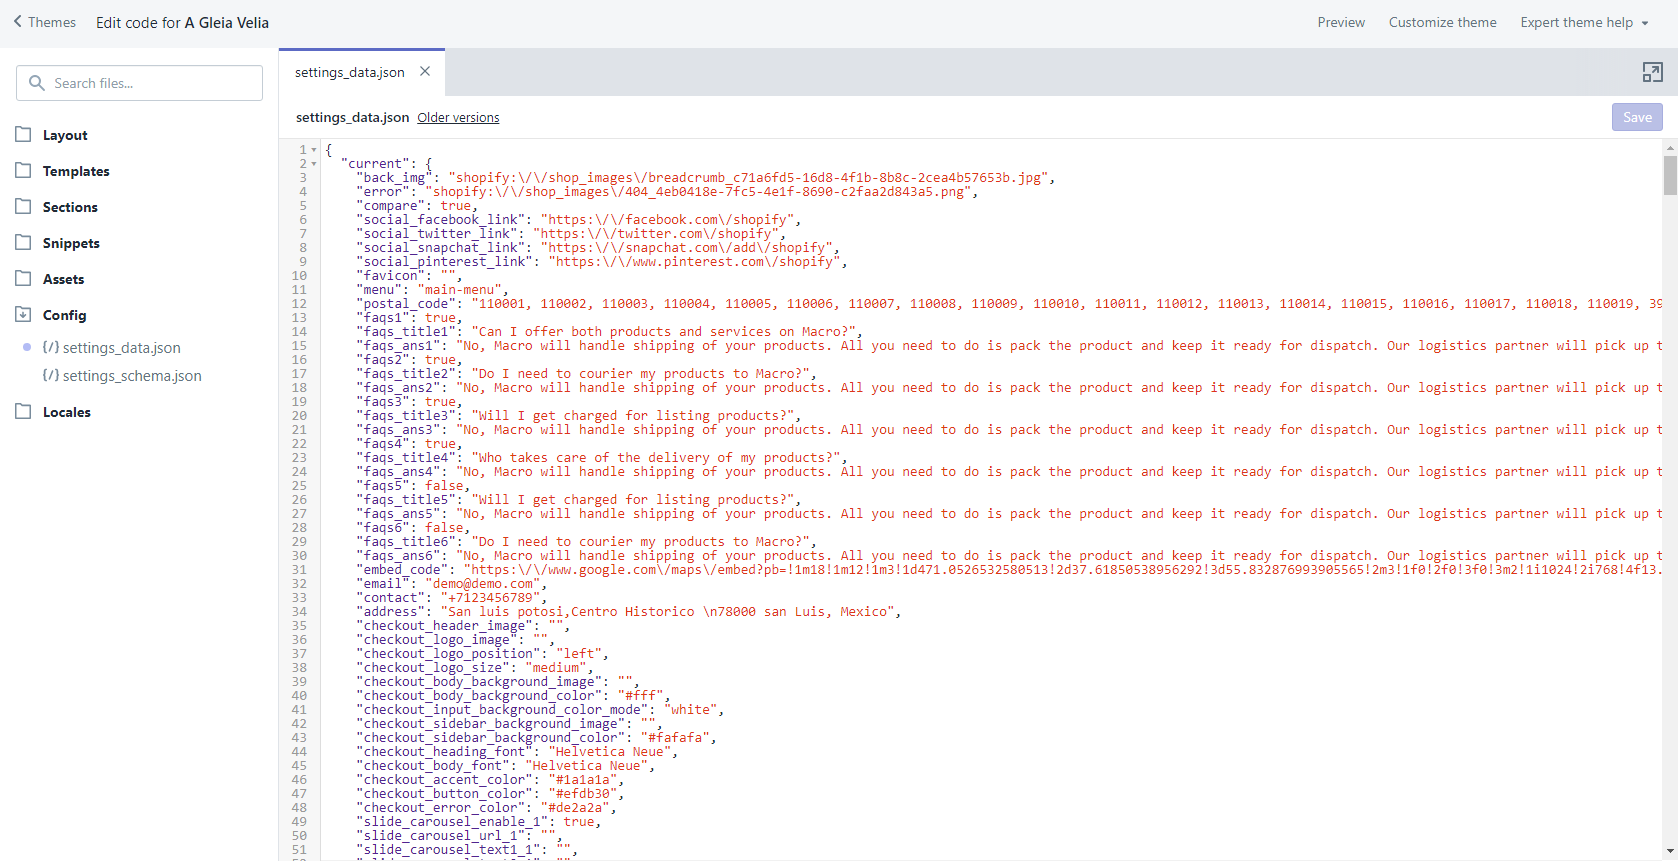
- Click on “Actions” button then click "Edit Code"

- Open "settings_data.json" file and paste the copied code here
Now save it and you're done
General (Currency)
Editing the HTML for currency formatting
- From your shop admin, go to the Settings / General
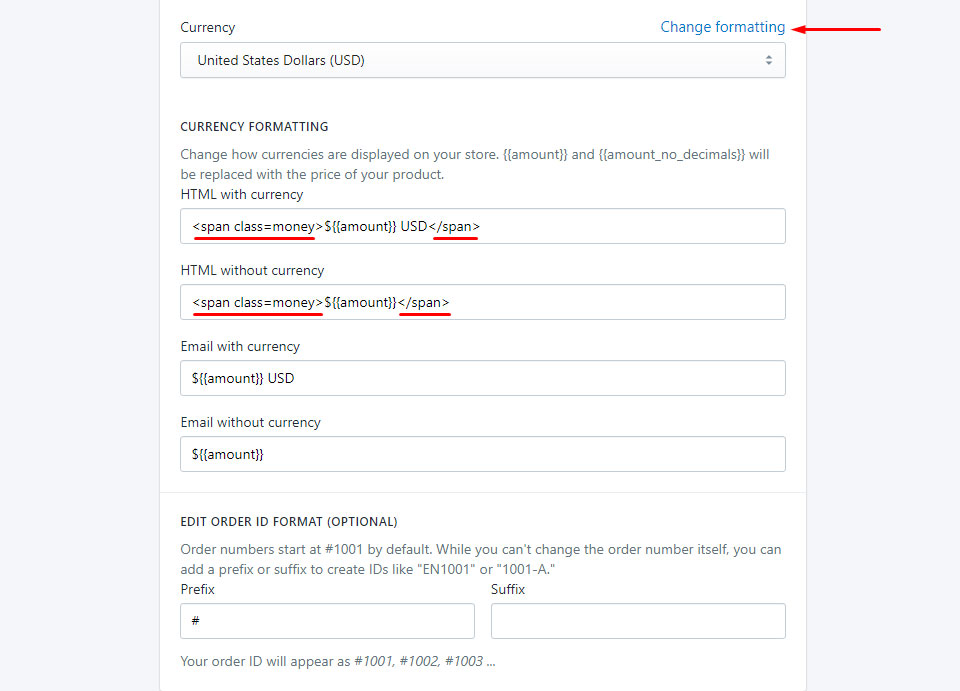
- Scroll down and then you will see a "Standards & formats" block. Find the "Currency" there
- Select your currency
- Click "Change formatting"
- Replace selected text and click Save
Payment
- From your shop admin, go to the Settings / Payments
- Choose a payment gateway to accept payments for orders. Than checkout page is work
Checkout
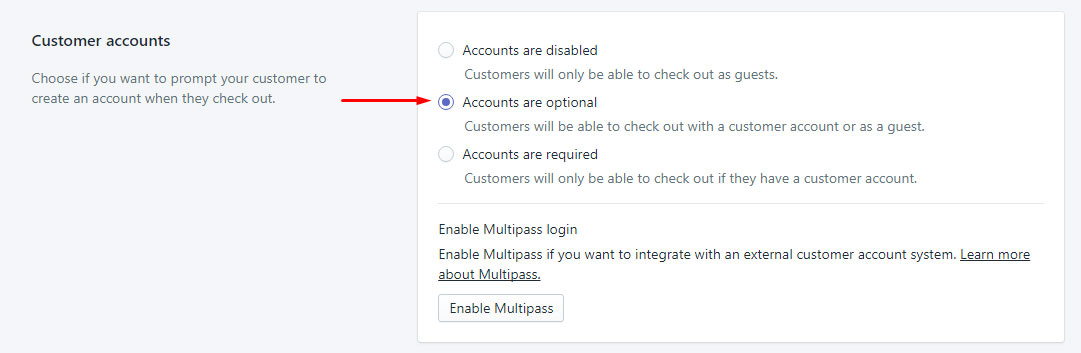
- From your shop admin, go to the Settings / Checkout
- Select Accounts are optional
Shipping
- From your shop admin, go to the Settings / Shipping
- To enable shipping calculator, please configure your shipping rates. Set up shipping rates
Shortcodes for Product Description
You have 4 shortcodes.
You could use Editor mode or Show HTML mode
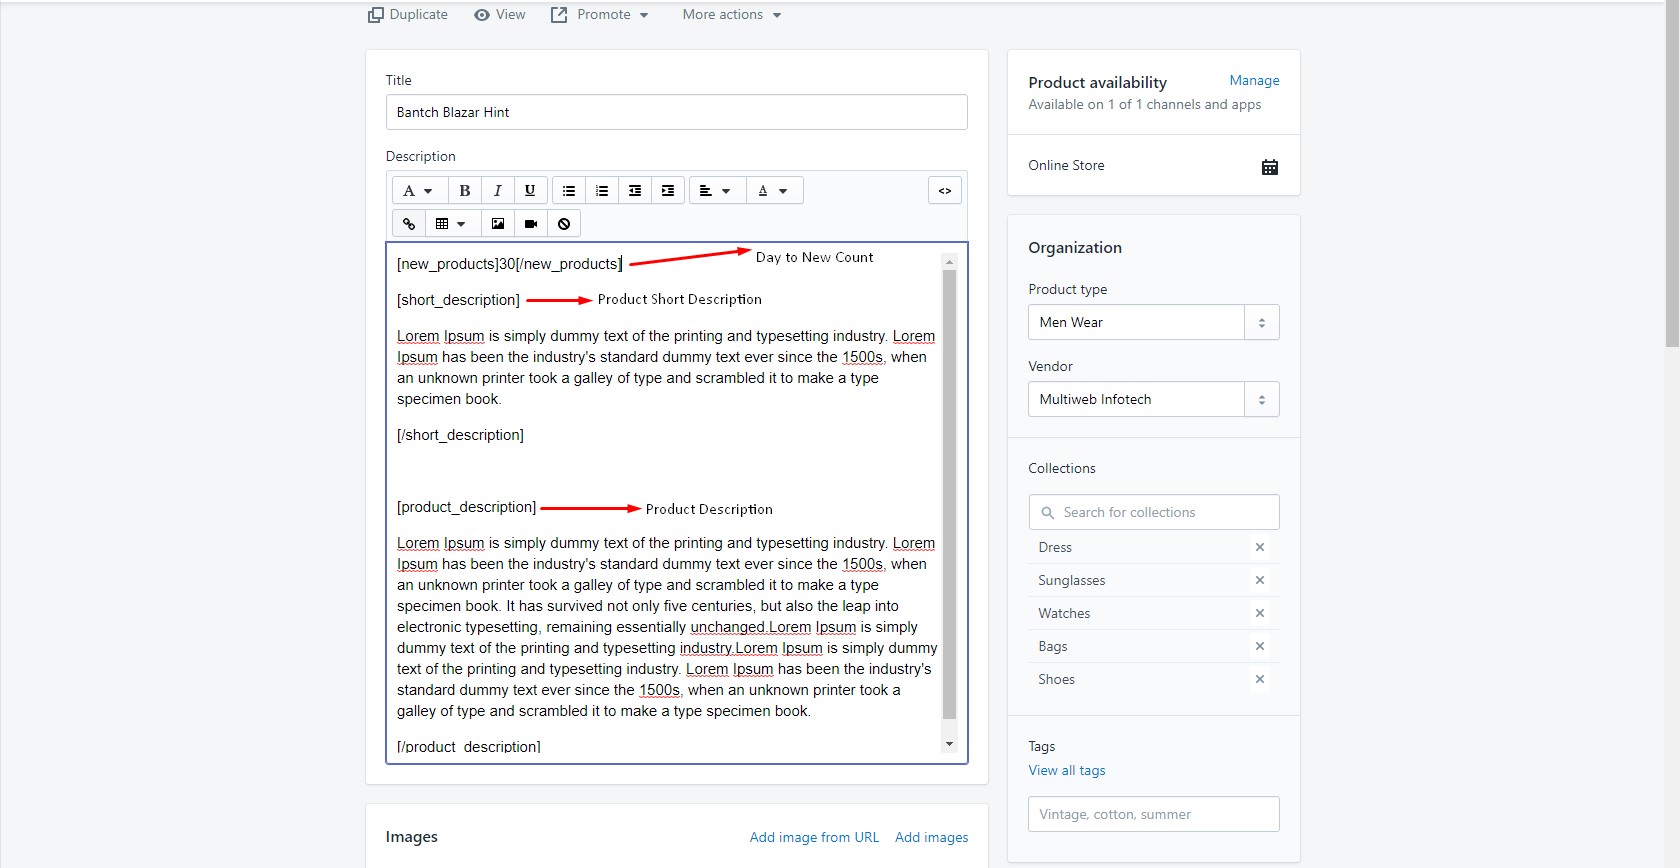
Product New Badge shortcode. Put day limit, how many days show the new badge in your product.
Product short description shortcode (Optional)
Product description shortcode in Product description tab (Optional)
Affiliate link product short code in "Add to cart icon"
- [new_products]Here add your product New Badge day limit[/new_products] - work on Product Grid and List view
- [short_description]Here add your product short description[/short_description] - work on Product page below the product condition area , List product list view page, Search page and quick view
- [product_description]Here add your product full description[/product_description] - work on Product page in product description tab
- [affiliate_link]Here add your affiliate link[/affiliate_link] - work on Product page in "Add to cart" action
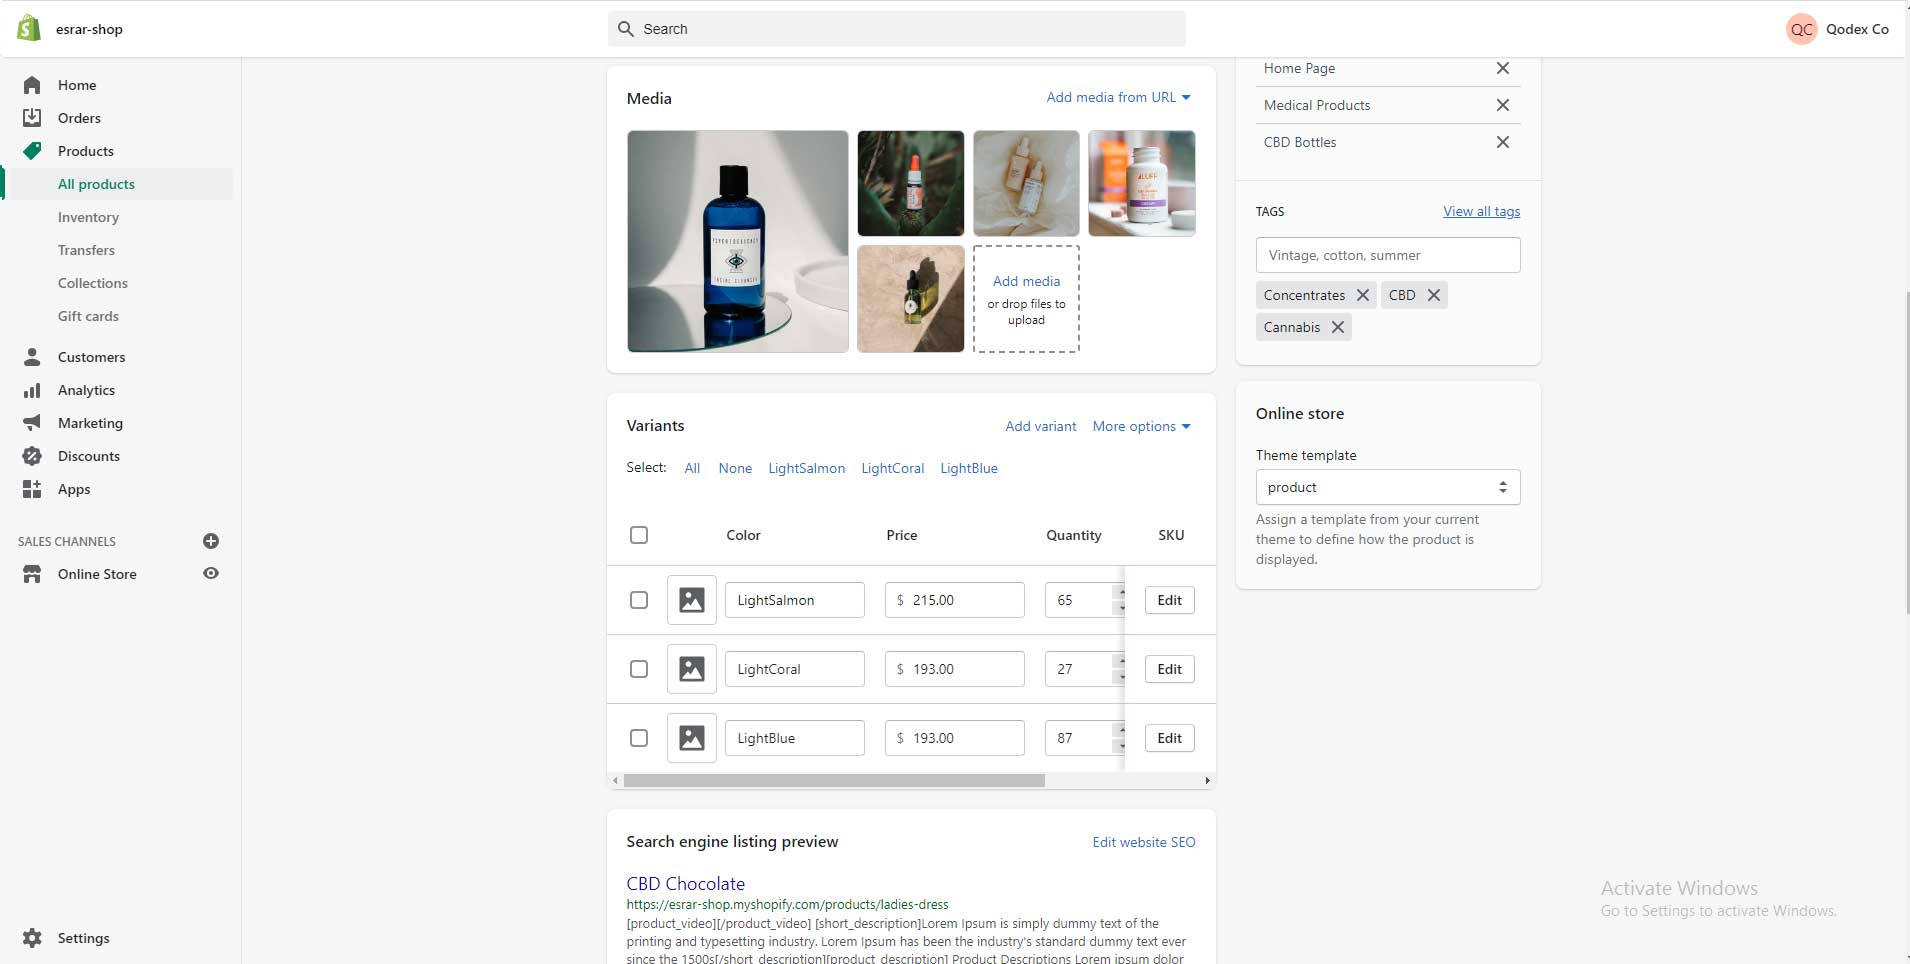
Add Product Variants
- Product variants
Product Tags
- Product tags
- When add variants this variant must be add in tags
Create Collection
- Go to the Products / Collections
- Create and select your collection.
Create A Custom Page
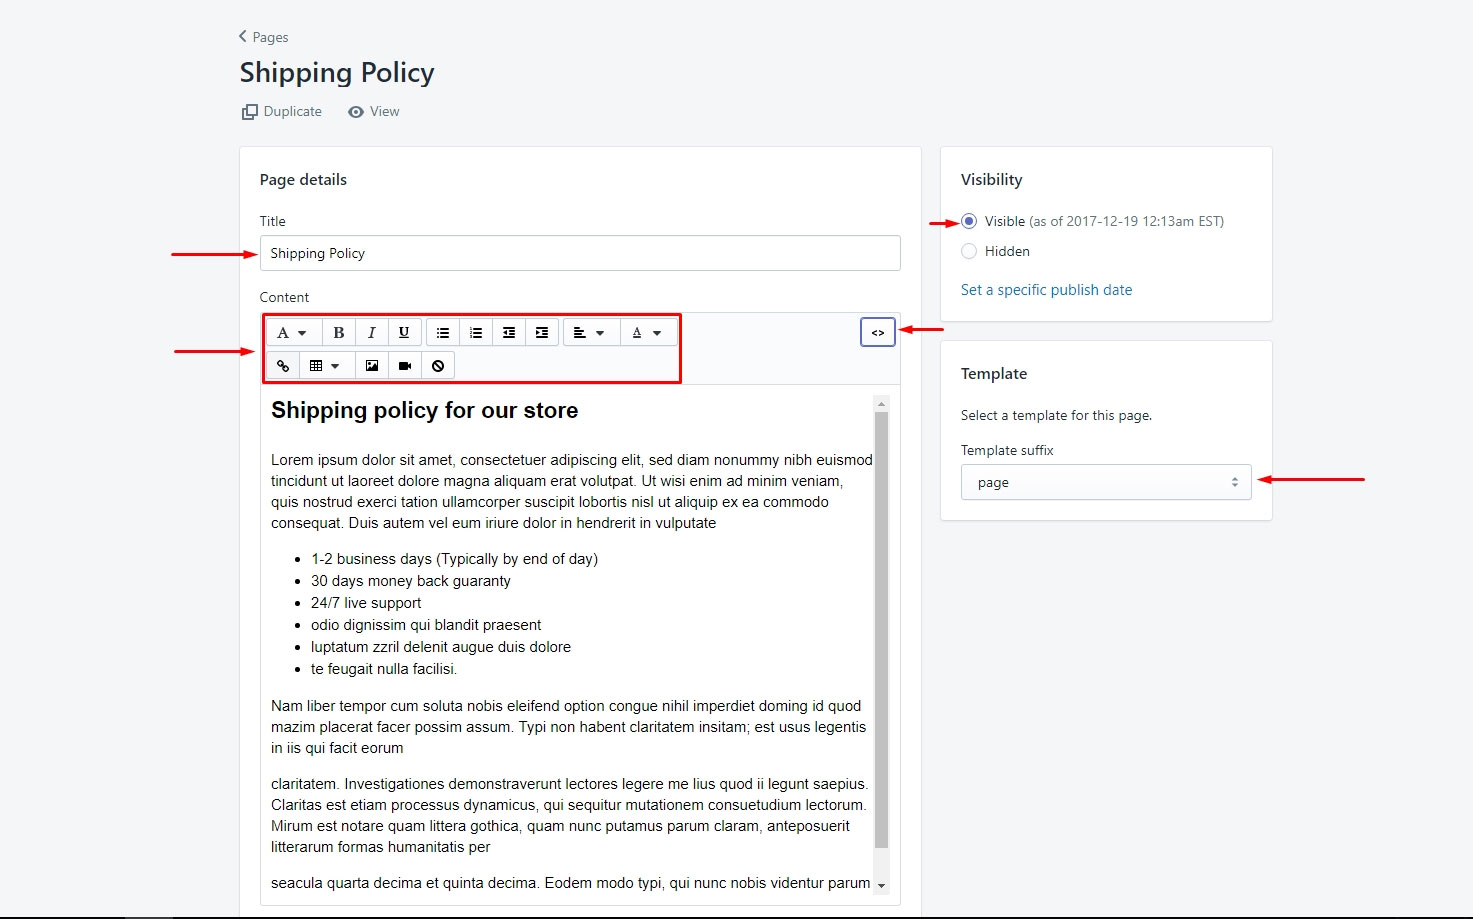
- In a Online Store / Pages, find and click button "Add a page"
- Write in Title field page name
- Select Template: page
- Select Visibility: Visible
- You could use code Editor or HTML write mode content
- Click save
Contact/About Page
- In a Online Store / Pages, find and click button "Add a page"
- Write in Title field page name
- Select Template: page.contactus
- Select Visibility: Visible
- You could use code Editor or HTML write mode content
- Click save
Wishlist Page
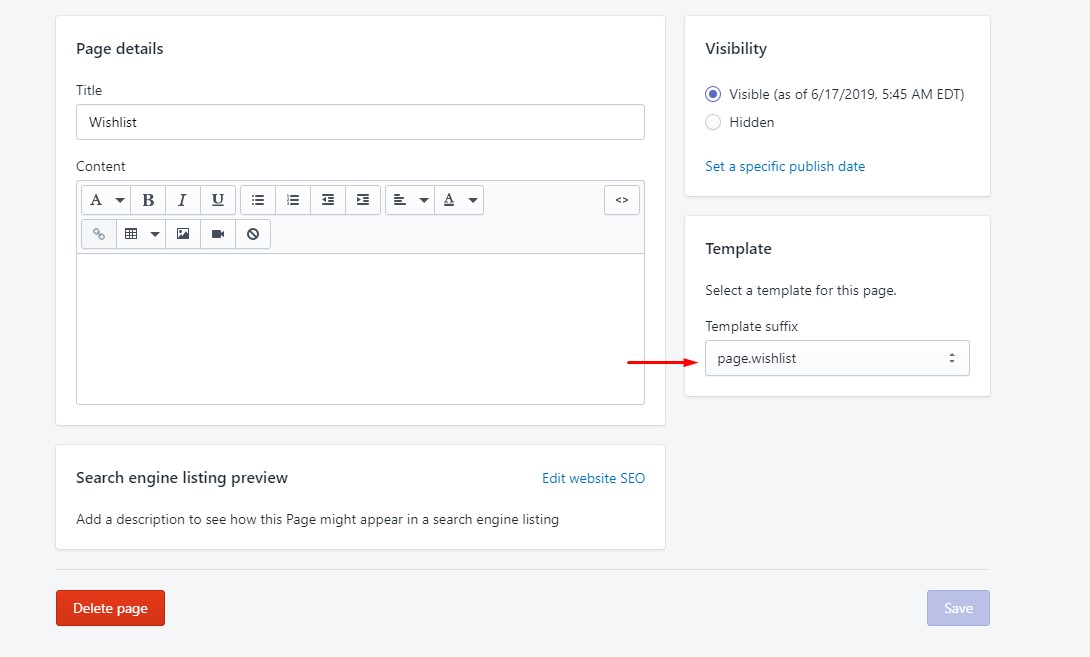
- In a Online Store / Pages, find and click button "Add a page"
- Write in Title field page name
Page Title:
- Select Template: page.wishlist
- Select Visibility: Visible
- You could use code Editor or HTML write mode content
- Click save
Create Blog/Article
- Click Manage Blog And Create Your Own Blog Title


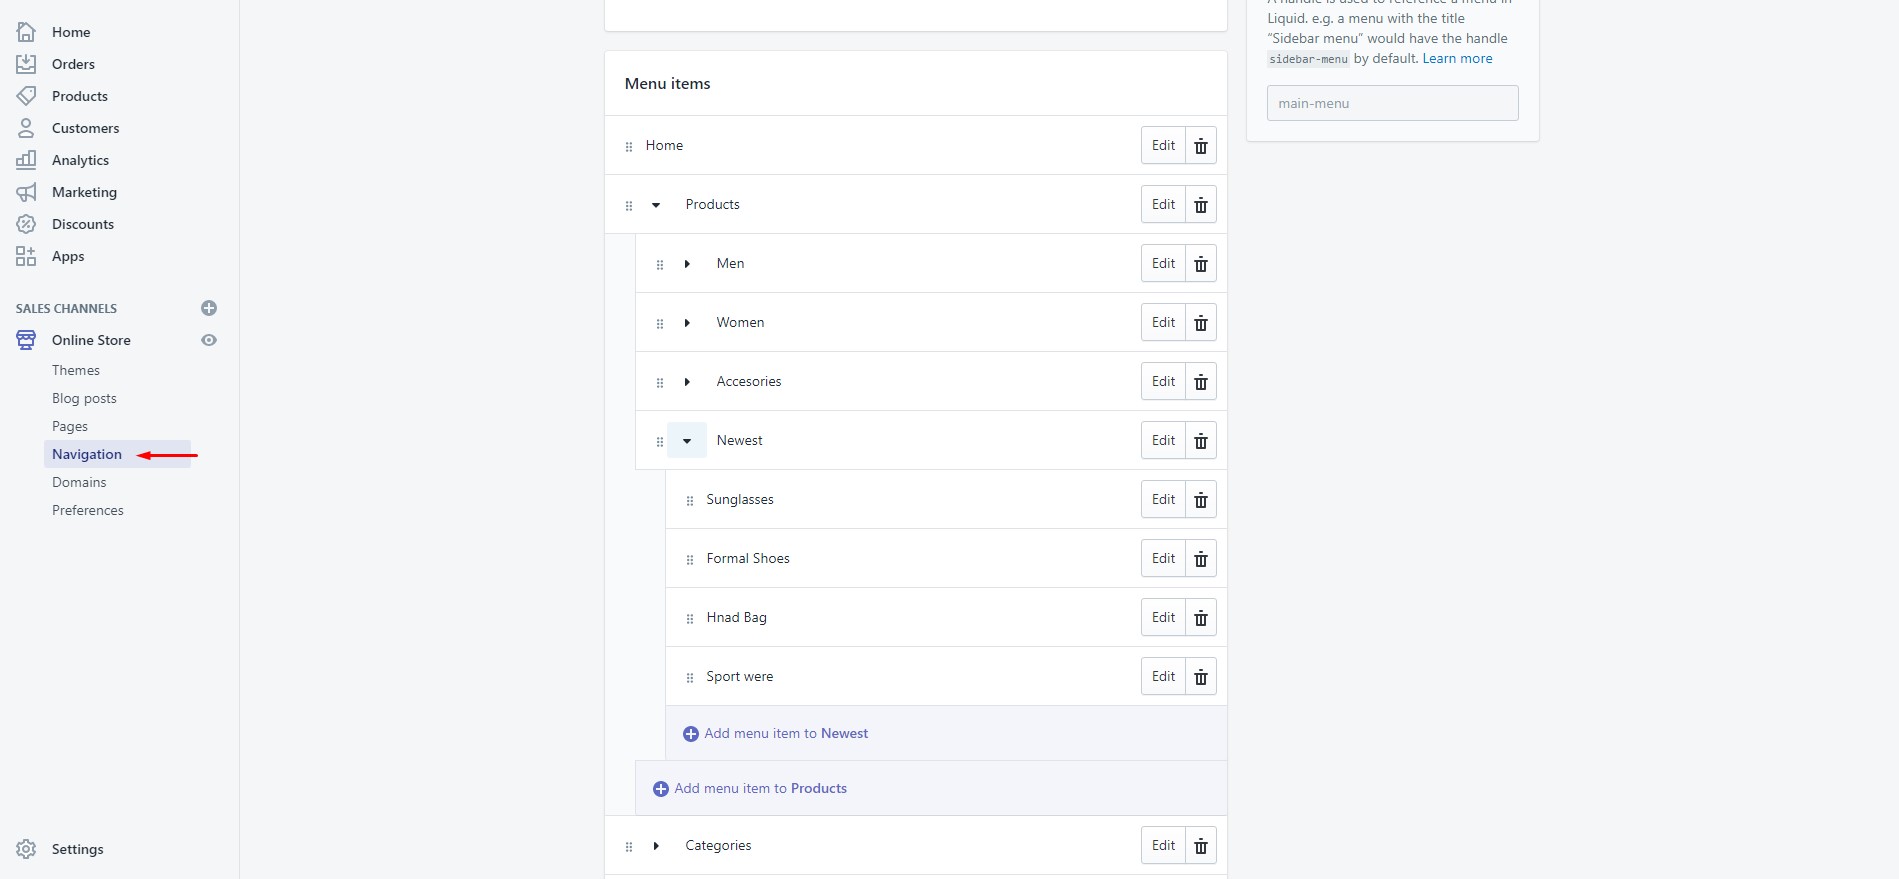
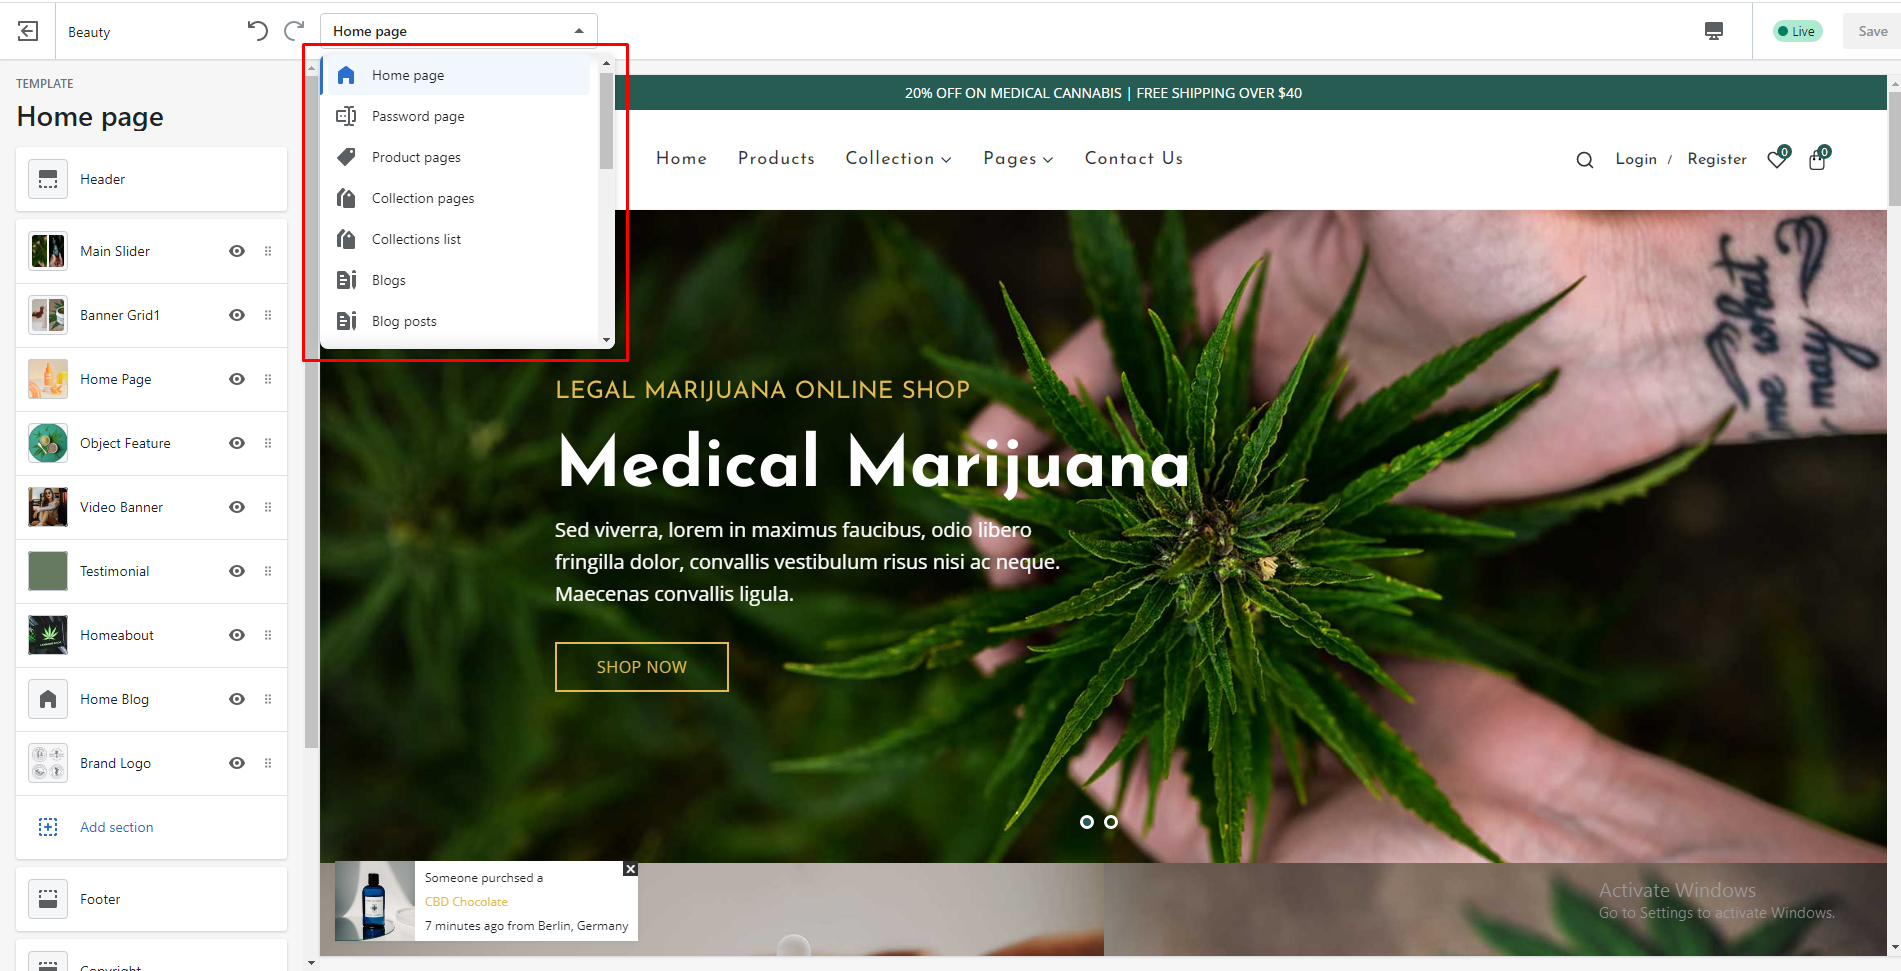
Other Page Customization
- Go to page from customizer for customize page. Then show functionality for this page.